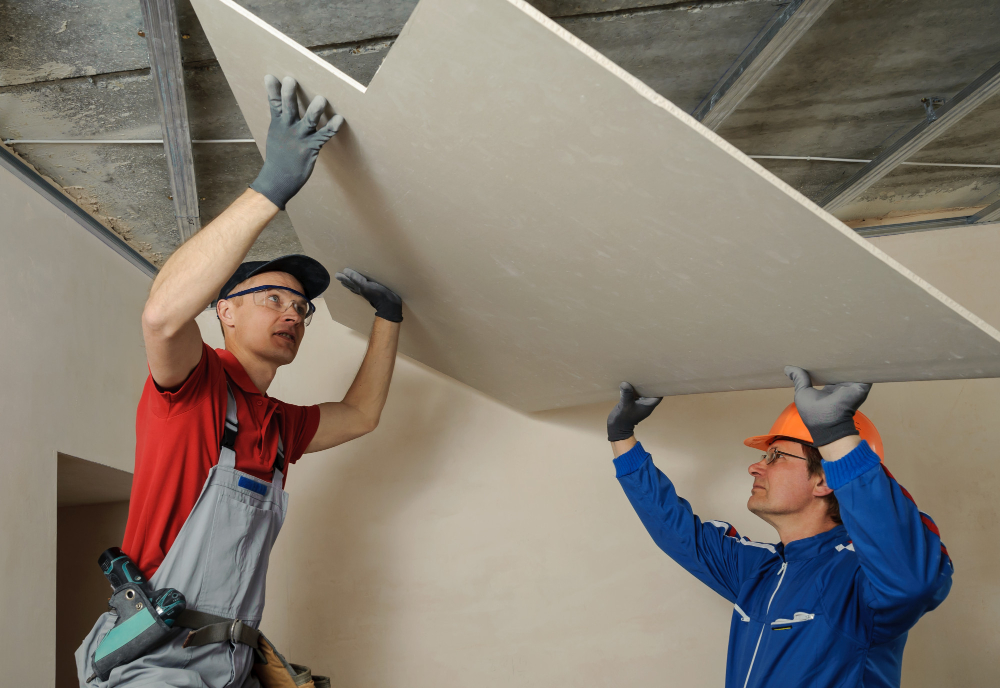
Drywall may not be the flashiest part of your home or business, but it’s certainly one of the most important. It forms the skin of every room by creating clean lines, defining structure, and setting the stage for everything else - like paint, décor, furniture, and more.
In a city where home updates and business renovations are part of the everyday rhythm, clean and professional-looking drywall is expected. For that flawless smoothness, zero seams, and an overall polished look, you'll need to know about mudding.
In this brief article brought to you by Mr. Handyman, we talk about what drywall mudding is, how to do it like a pro, and when it’s time to hand it off to someone who lives and breathes drywall repair. You are always welcome to call Mr. Handyman to consult with a member of our team or hire a trusted local handyman.
What Is Drywall Mudding, Exactly?
Drywall mudding involves applying joint compound (known as "mud") over drywall seams, screw holes, and any imperfections left behind after hanging the drywall panels. Think of it as drywall’s version of spackling - only mudding is more detailed, more layered, and a lot more crucial to the final outcome.
The goal of mudding is to create a perfectly flat and seamless surface so that you can’t tell where one drywall sheet ends and another begins. This is crucial when paint or texture is added. But mudding is not a one-and-done. Mudding is usually done in multiple stages with drying time and sanding between each coat. It’s meticulous work, but gives that "brand new" look.
How to Mudd Like a Pro (or at Least Try To)
If you’re the DIY type and want to give it a shot yourself, here’s a beginner-friendly rundown of what a clean drywall mudding job looks like. Spoiler alert: it takes patience, the right tools, and a good eye.